It has been a very long time since I last posted. Something about having a child really makes it hard to find blocks of time to sit and think about things.
Anyways, this post is about my journey of creating a small and simple garage door monitoring system running on a Raspberry Pi Zero.
Requirements:
- Raspberry Pi Zero
- SD Card
- Mini-HDMI
- Micro-to-USB Adapter
- 18 guage or less wire(Really should be less more like 24 guage
- Soldering Iron
- Small wire nuts
- Magnetic switch
Few notes about the requirements above:
- Probably can use any Raspberry Pi that has wifi, but things might be a little different if you do.
- You don’t really need a 64GB microsd card. 4-8GB is fine.
- I could only find the 18 guage wire at HomeDepot. 20-24 would probably be fine. That being said, I’m not an electician or small electronics expert.
- The wire nuts you see in the images are quite a bit bigger than what is needed, but that is what I had in the house. I could have done what I usually do and just twist the wires and tape them without nuts or soldered them and then taped them.
Preface
As I was initially building this I found a ton of articles about how to install raspberrian and python and all of the software related, however, it seemed that there was a lack of information about the electronics portion of working with Raspberry Pi’s. Seems there might be more people with Electronic engineering and fewer Software engineering. So for this post, I will try to focus more on what I learned about electronics and skim over the Software portion. I tried to automate the GaragePy software install portion as much as possible.
OS Installation
Head over to the Raspberrian Site and get that installed and running on your Pi. Ensure you get the WiFi setup correctly and running. Once that is done come back here.
GaragePy Install
You can head over to my GaragePy repo and use GIT to clone and install it via
./garagepy.sh install
This should install all python packages required and then setup a systemd service
that will run when your Pi boots up. Do note that the service it sets up
essentially runs garagepy.sh run.
At this point, if everything has gone well, then you should have garagepy running
and listening on port 5000 so you can browse to your Pi’s ip address such as
http://192.168.0.99:5000 and see a simple landing page. If you get an error in your
browser about not able to connect either you need to wait a bit longer for
python to finish loading or there is an error. Either way, you can view
logs from GaragePy via systemctl status garagepy. If you find issues, please
open them in the GaragePy issue tracker.
Connect the magenetic sensor
Alright, let’s do the fun part and get the magnetic sensor connected. Here is a super janky setup I had to do a POC setup on my garage door once I had garagepy built and running.
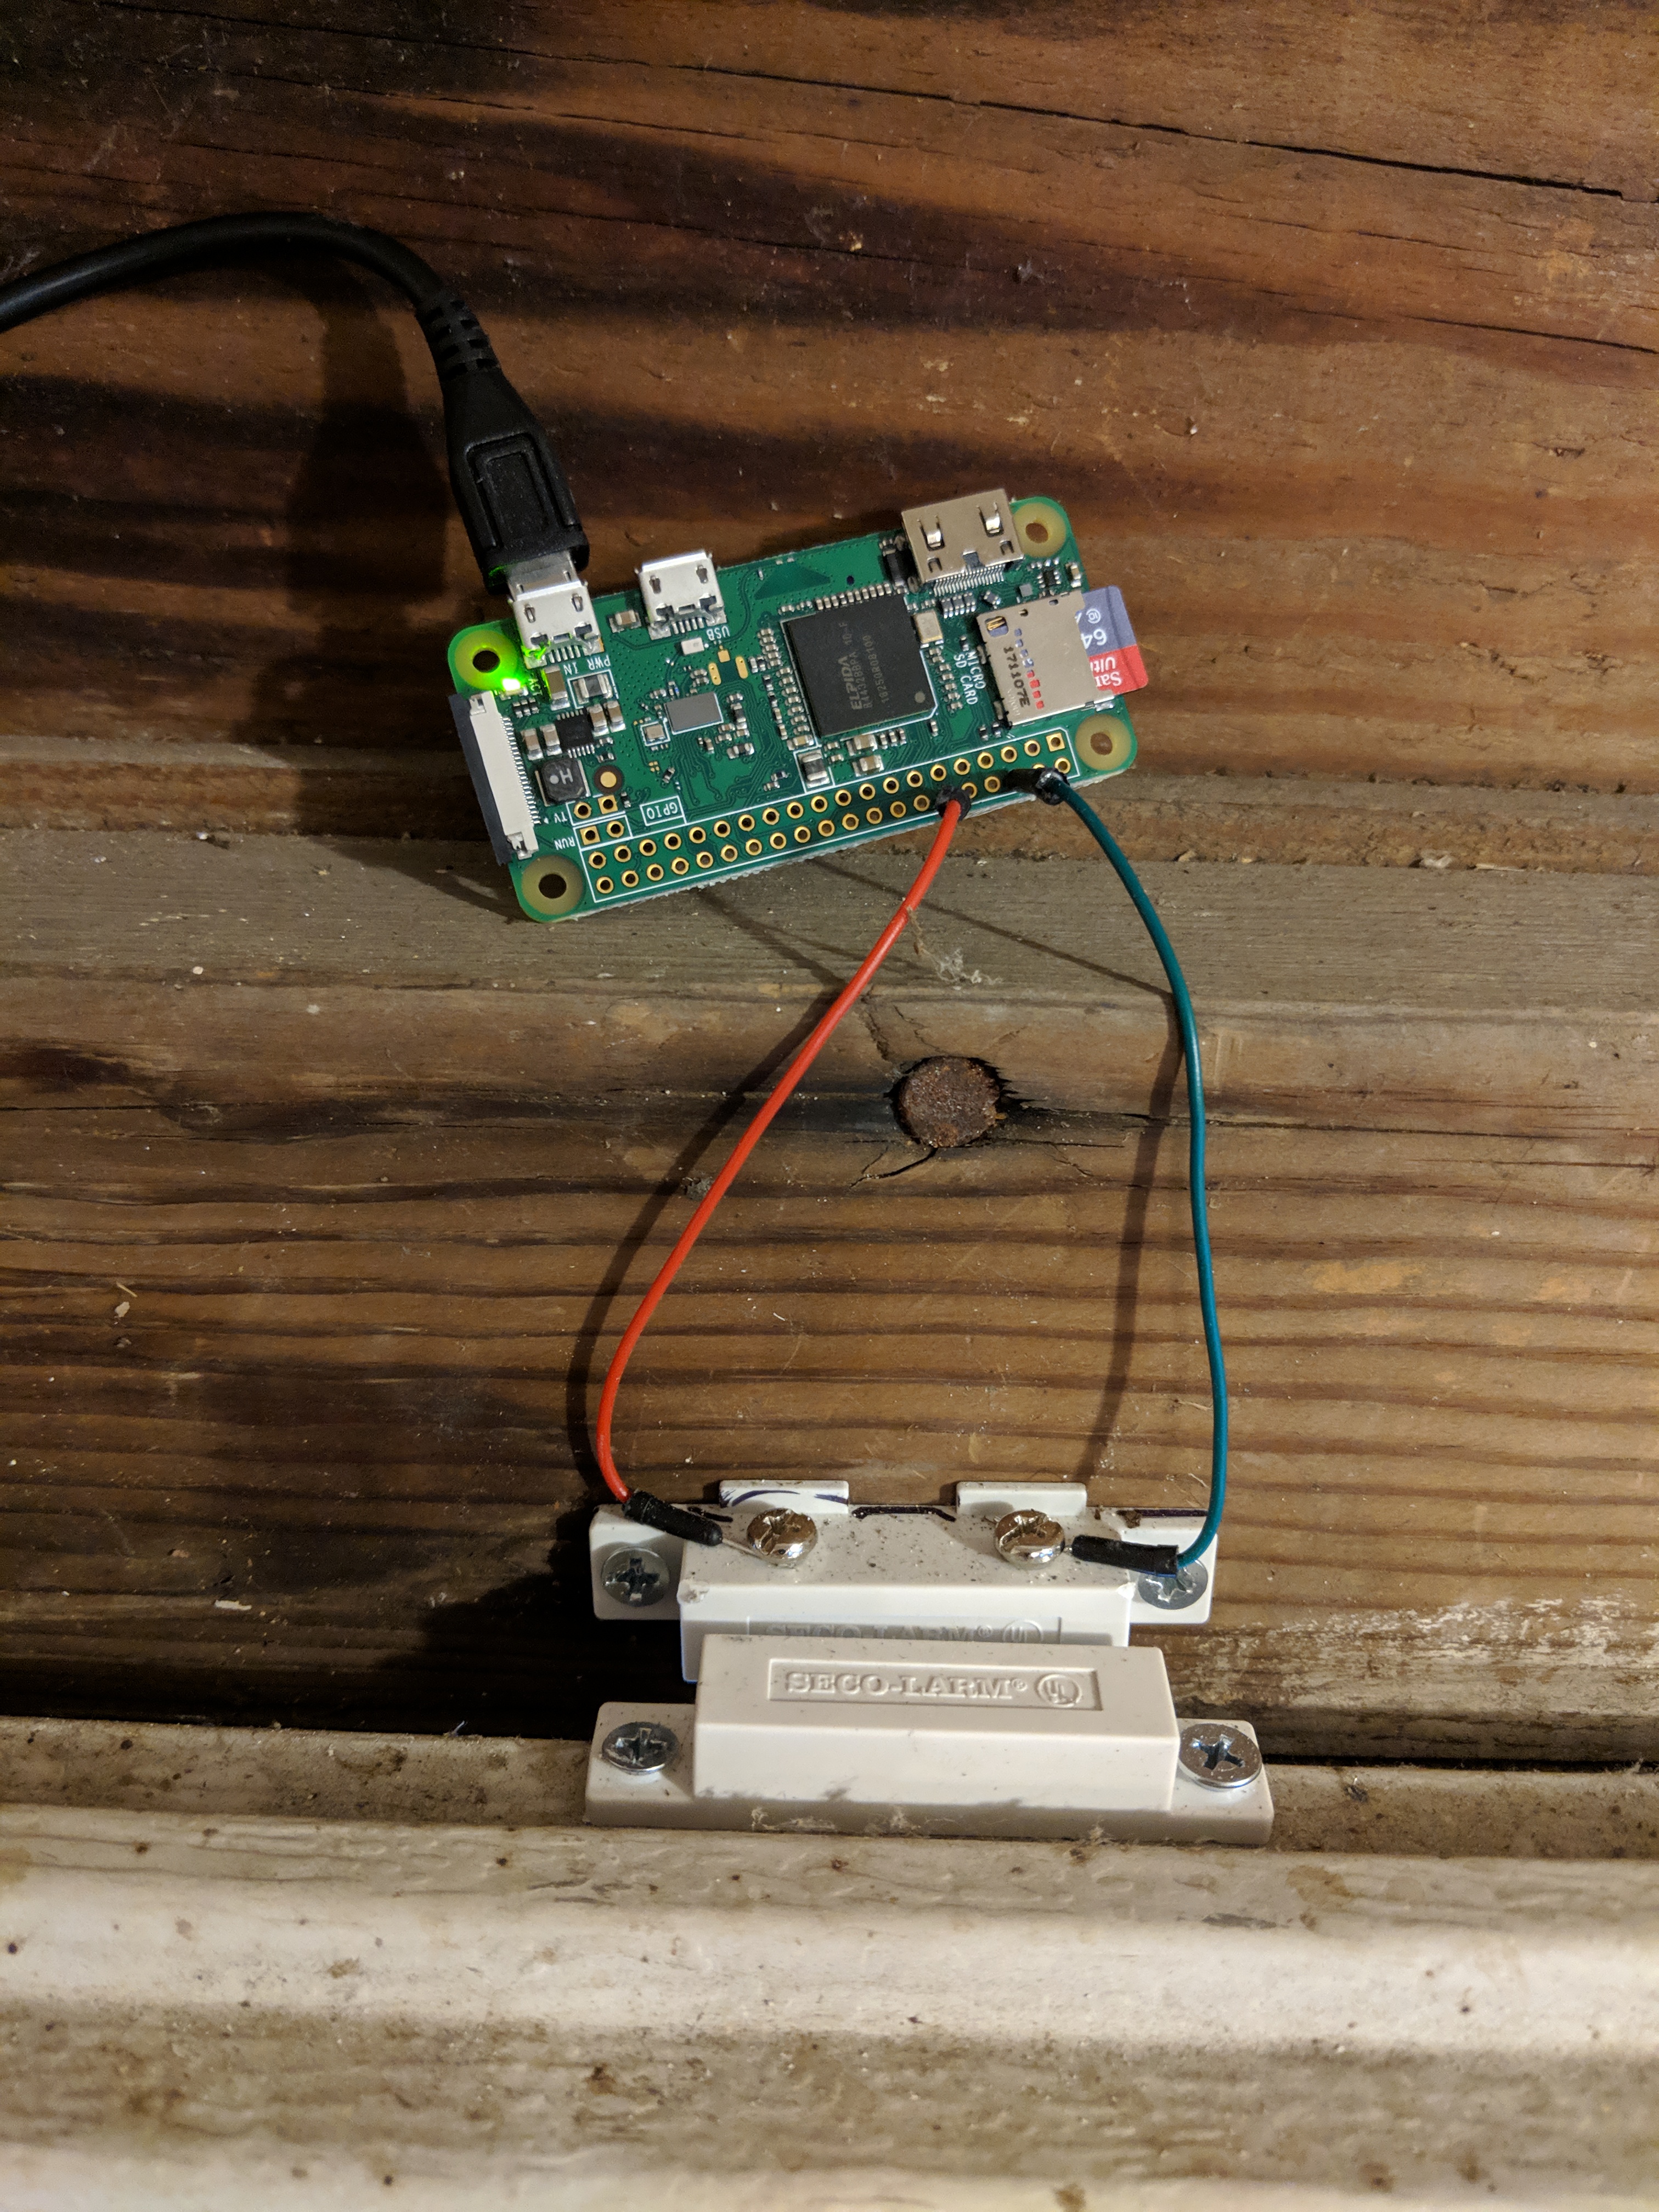
This should give you a pretty good idea of where to solder the wires and such from the magnetic sensor to the PI.
Here is another look so you can see the entire setup
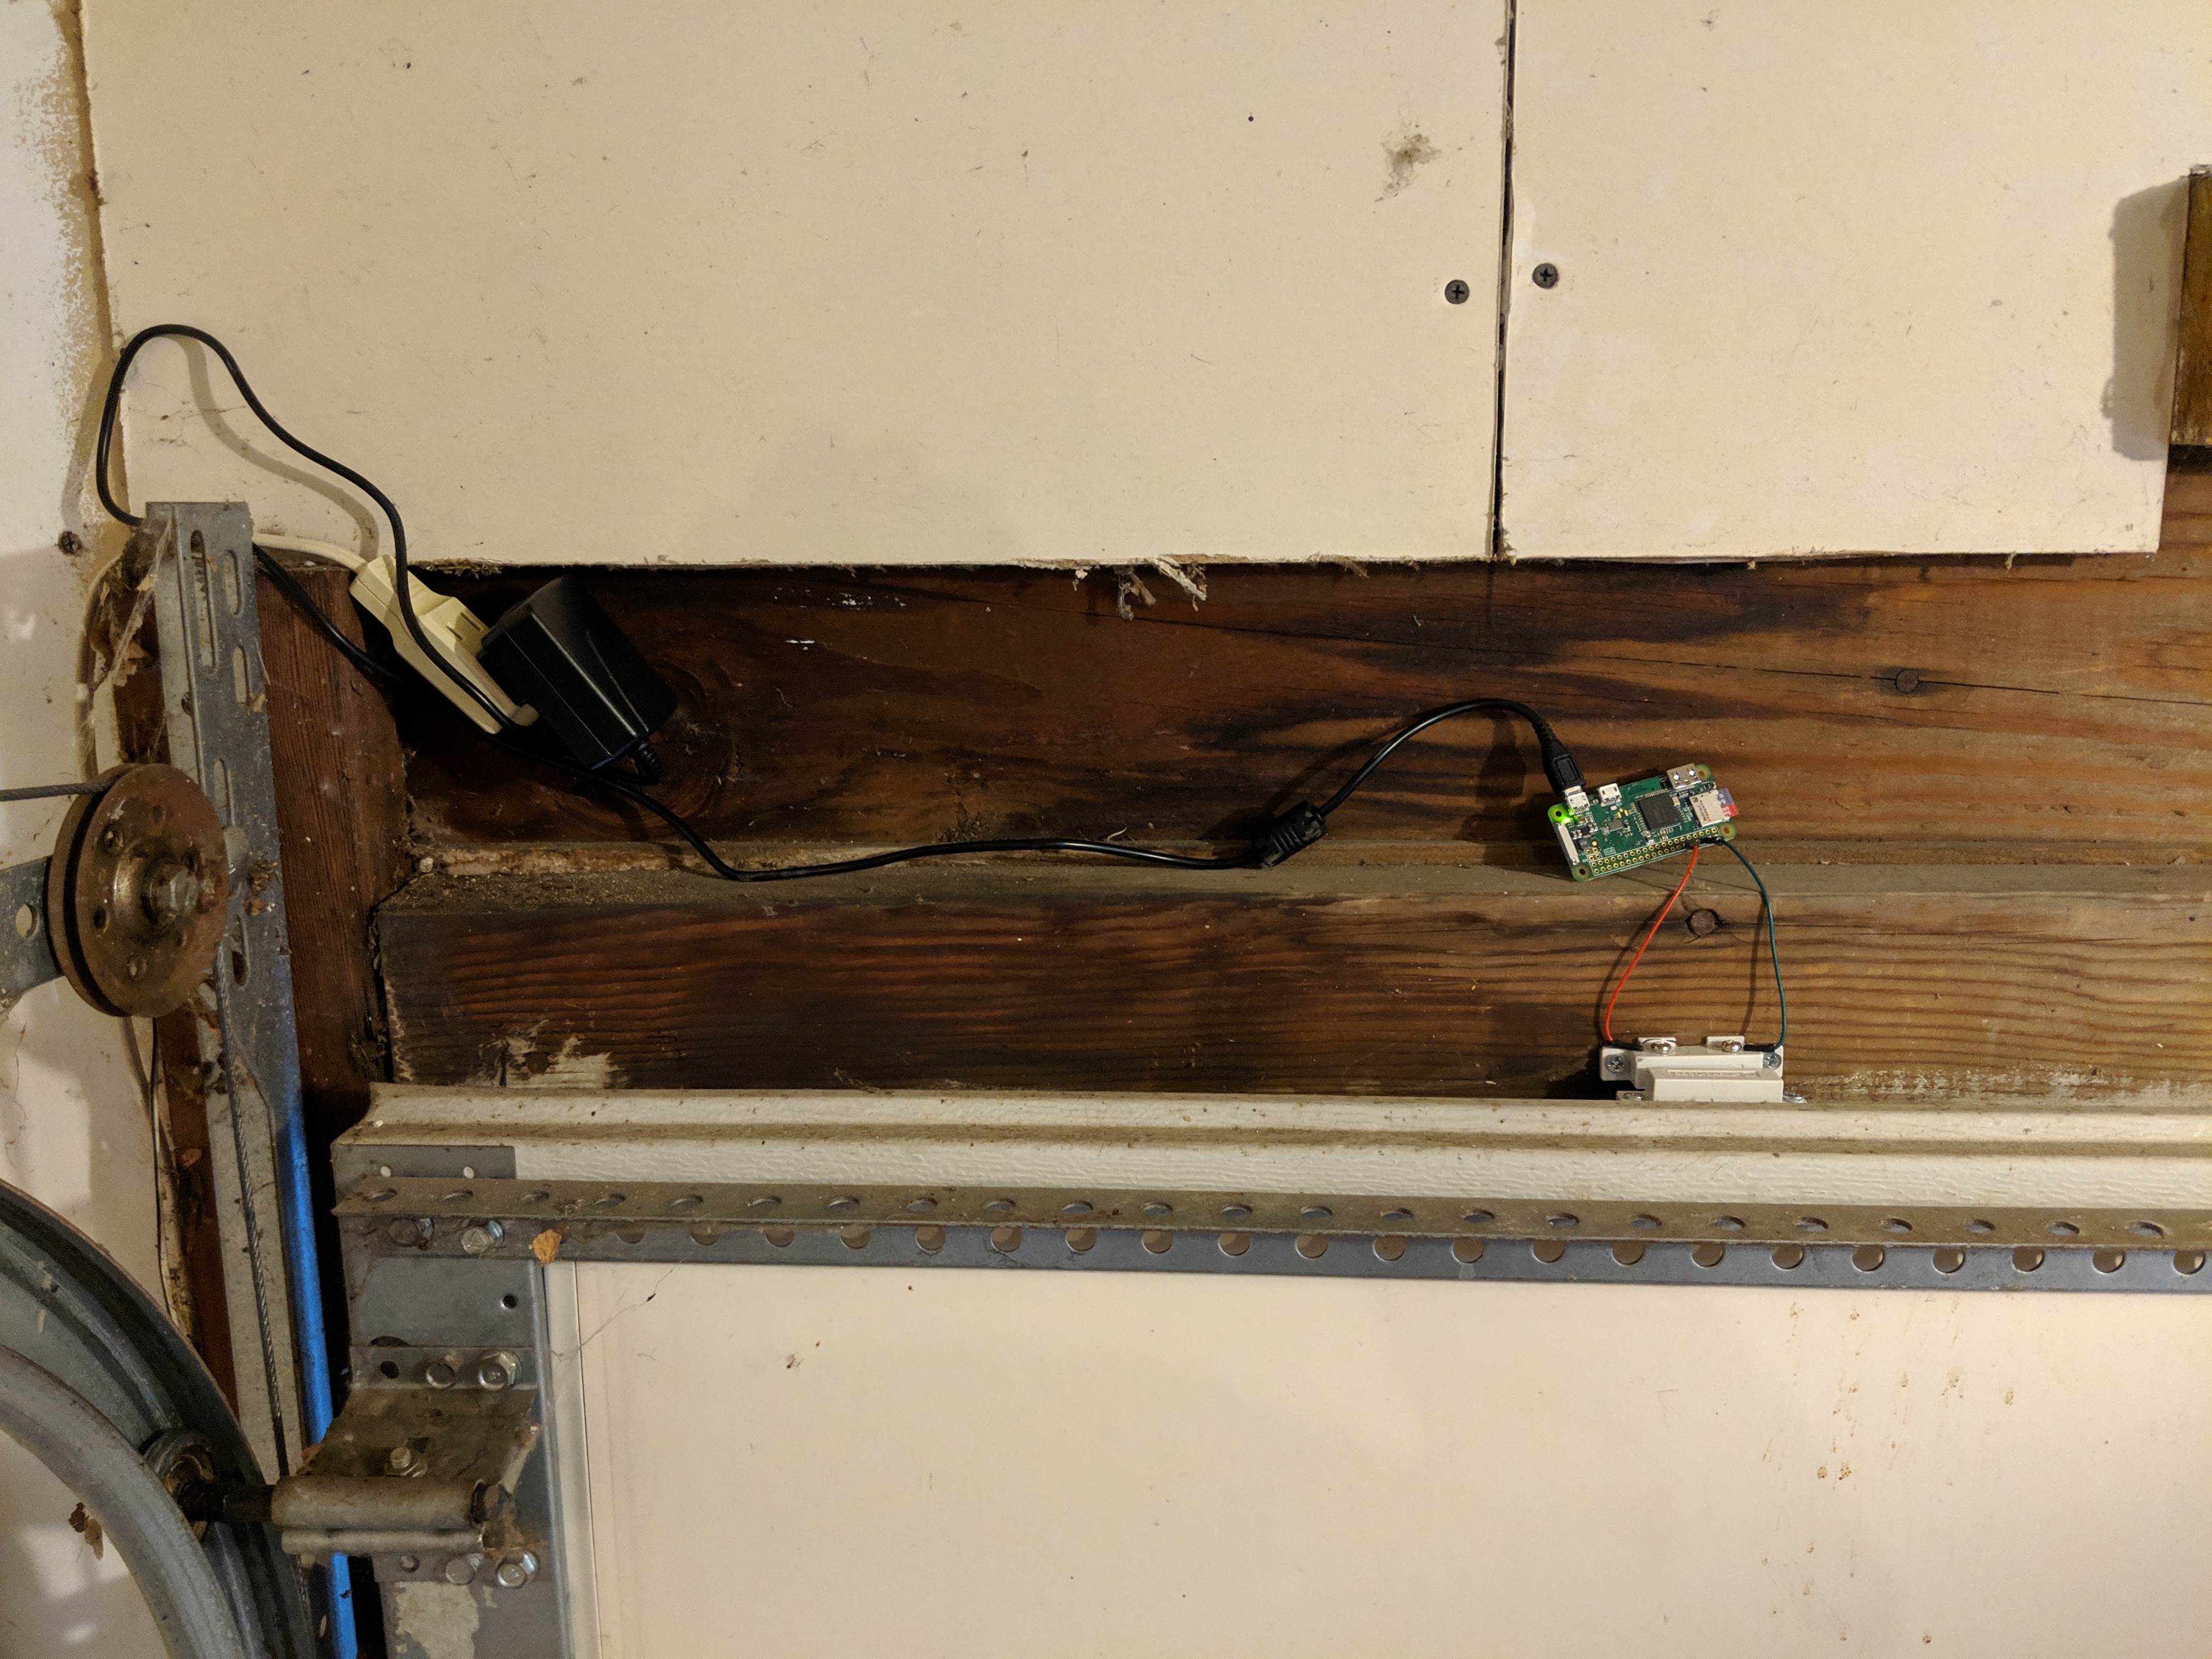
You can change which pin you connect the sensor too by changing it on this line. Note that this is the GPIO pin and not the ground pin. If you don’t know what that means then either go read a bunch like I had to or just connect it exactly the way I did.
With this setup I was able to open the garage door and then on my phone browse to the GargePy site and see it reflected that the door was open or closed.
Configureing if door is open or closed when magent is closed
Notice that the sensor will be closed when my door is closed and open when the door will be open. If you setup your sensor so that it is the opposite (magnet open == garage door closed, magnet closed == garage door open), you will need to configure this line and swap the wording for open and closed.
FYI, because I poorly create variable names, I already forgot if active actually means the magnet will be open or closed, so the previous paragraph may be opposite of what I said. Most importantly, if the website says the door is open when it is closed, then go to that line of code I linked and swap the wording!
Finished Project
Finished magnetic sensor attached to the garage door.
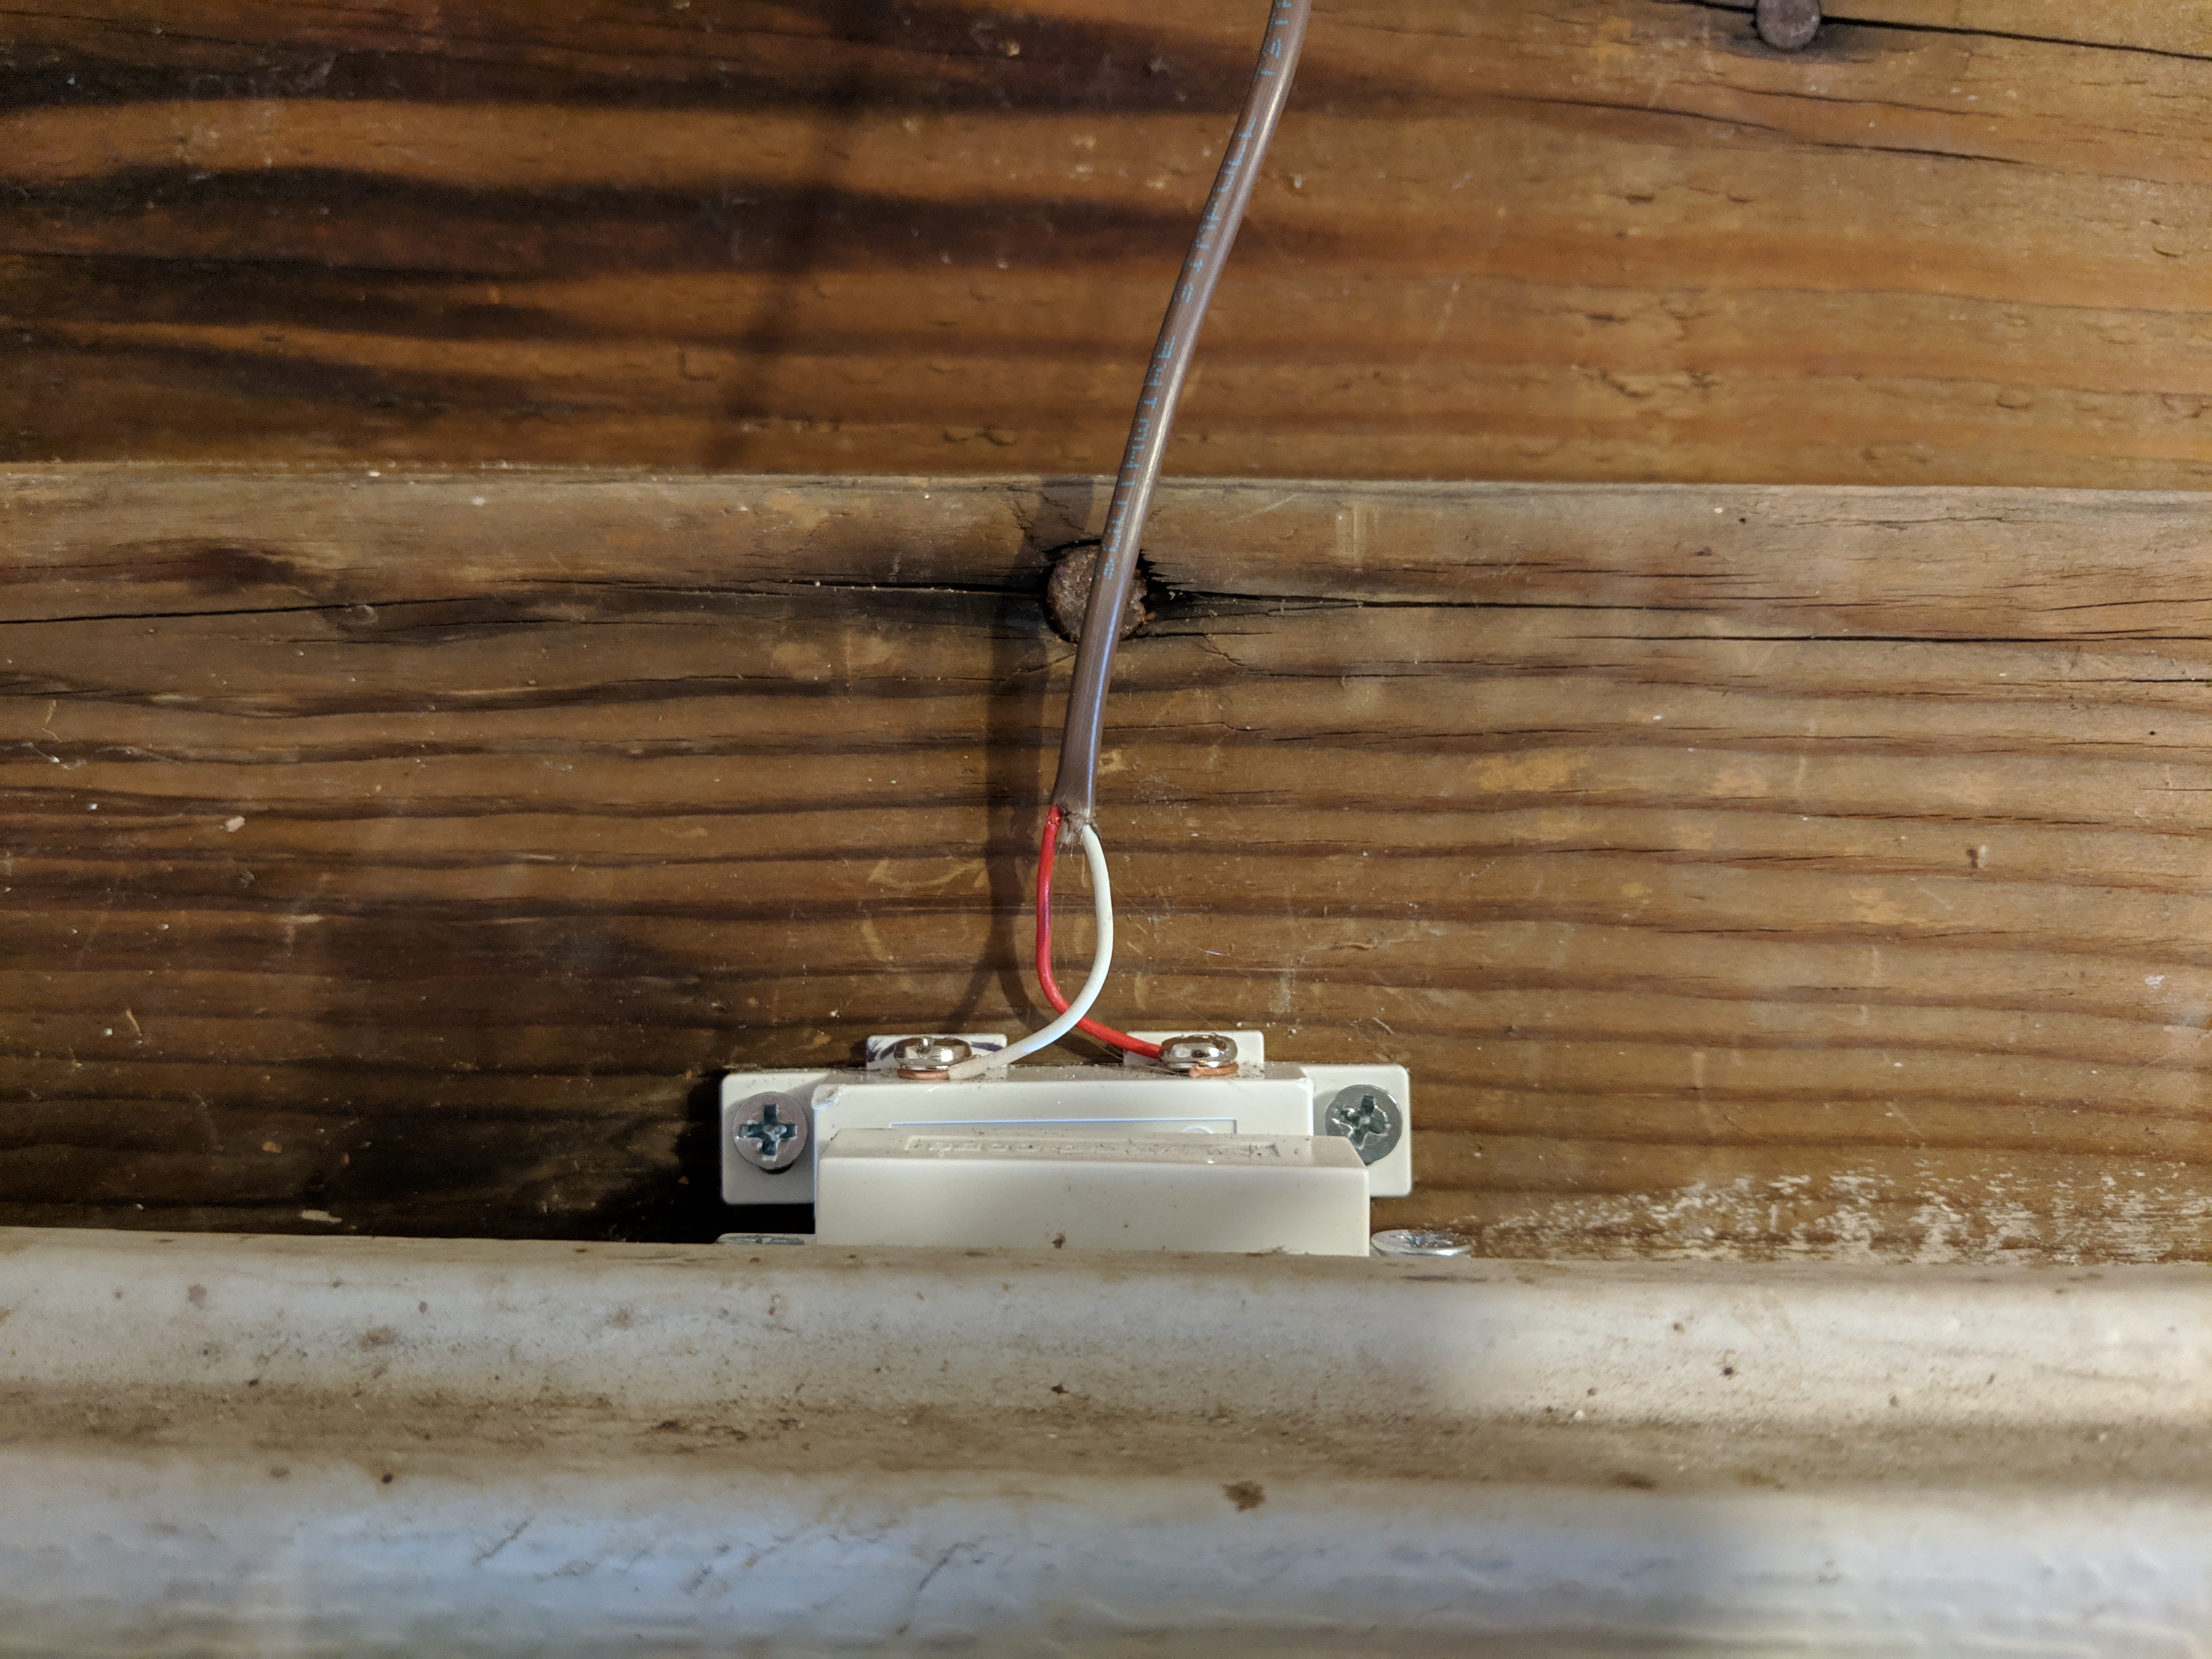
Wire stapled from the sensor to the PI
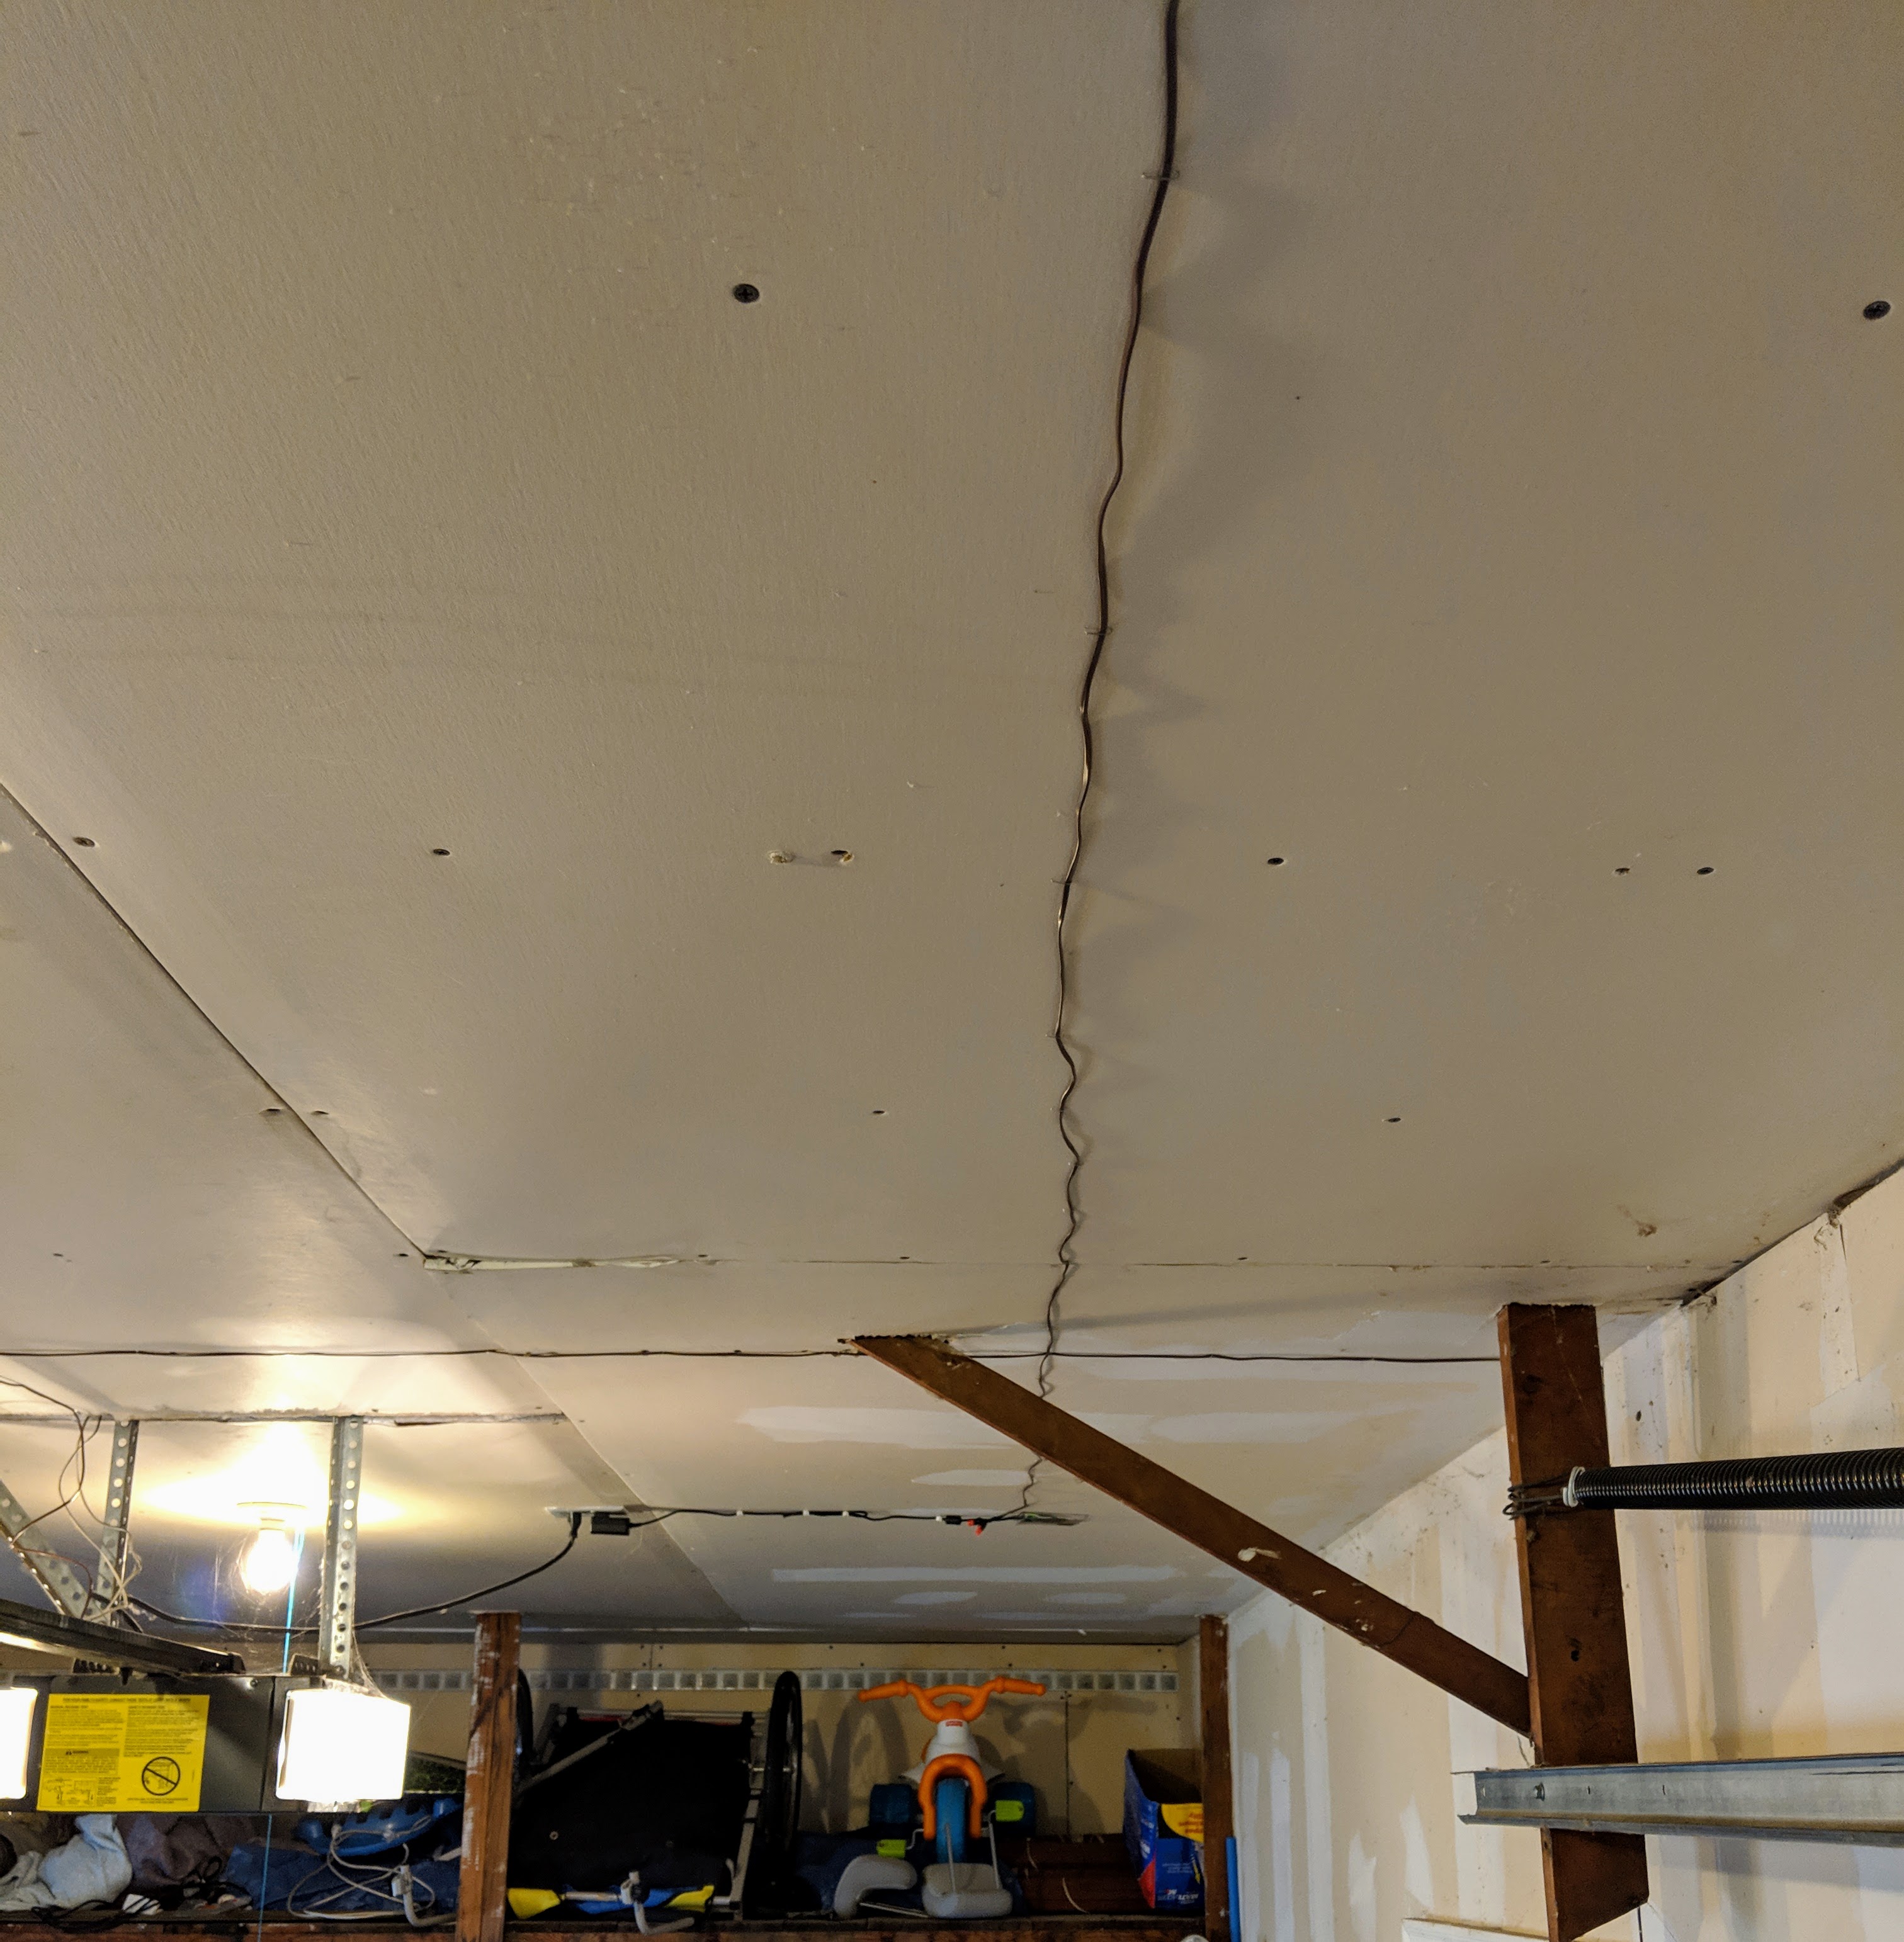
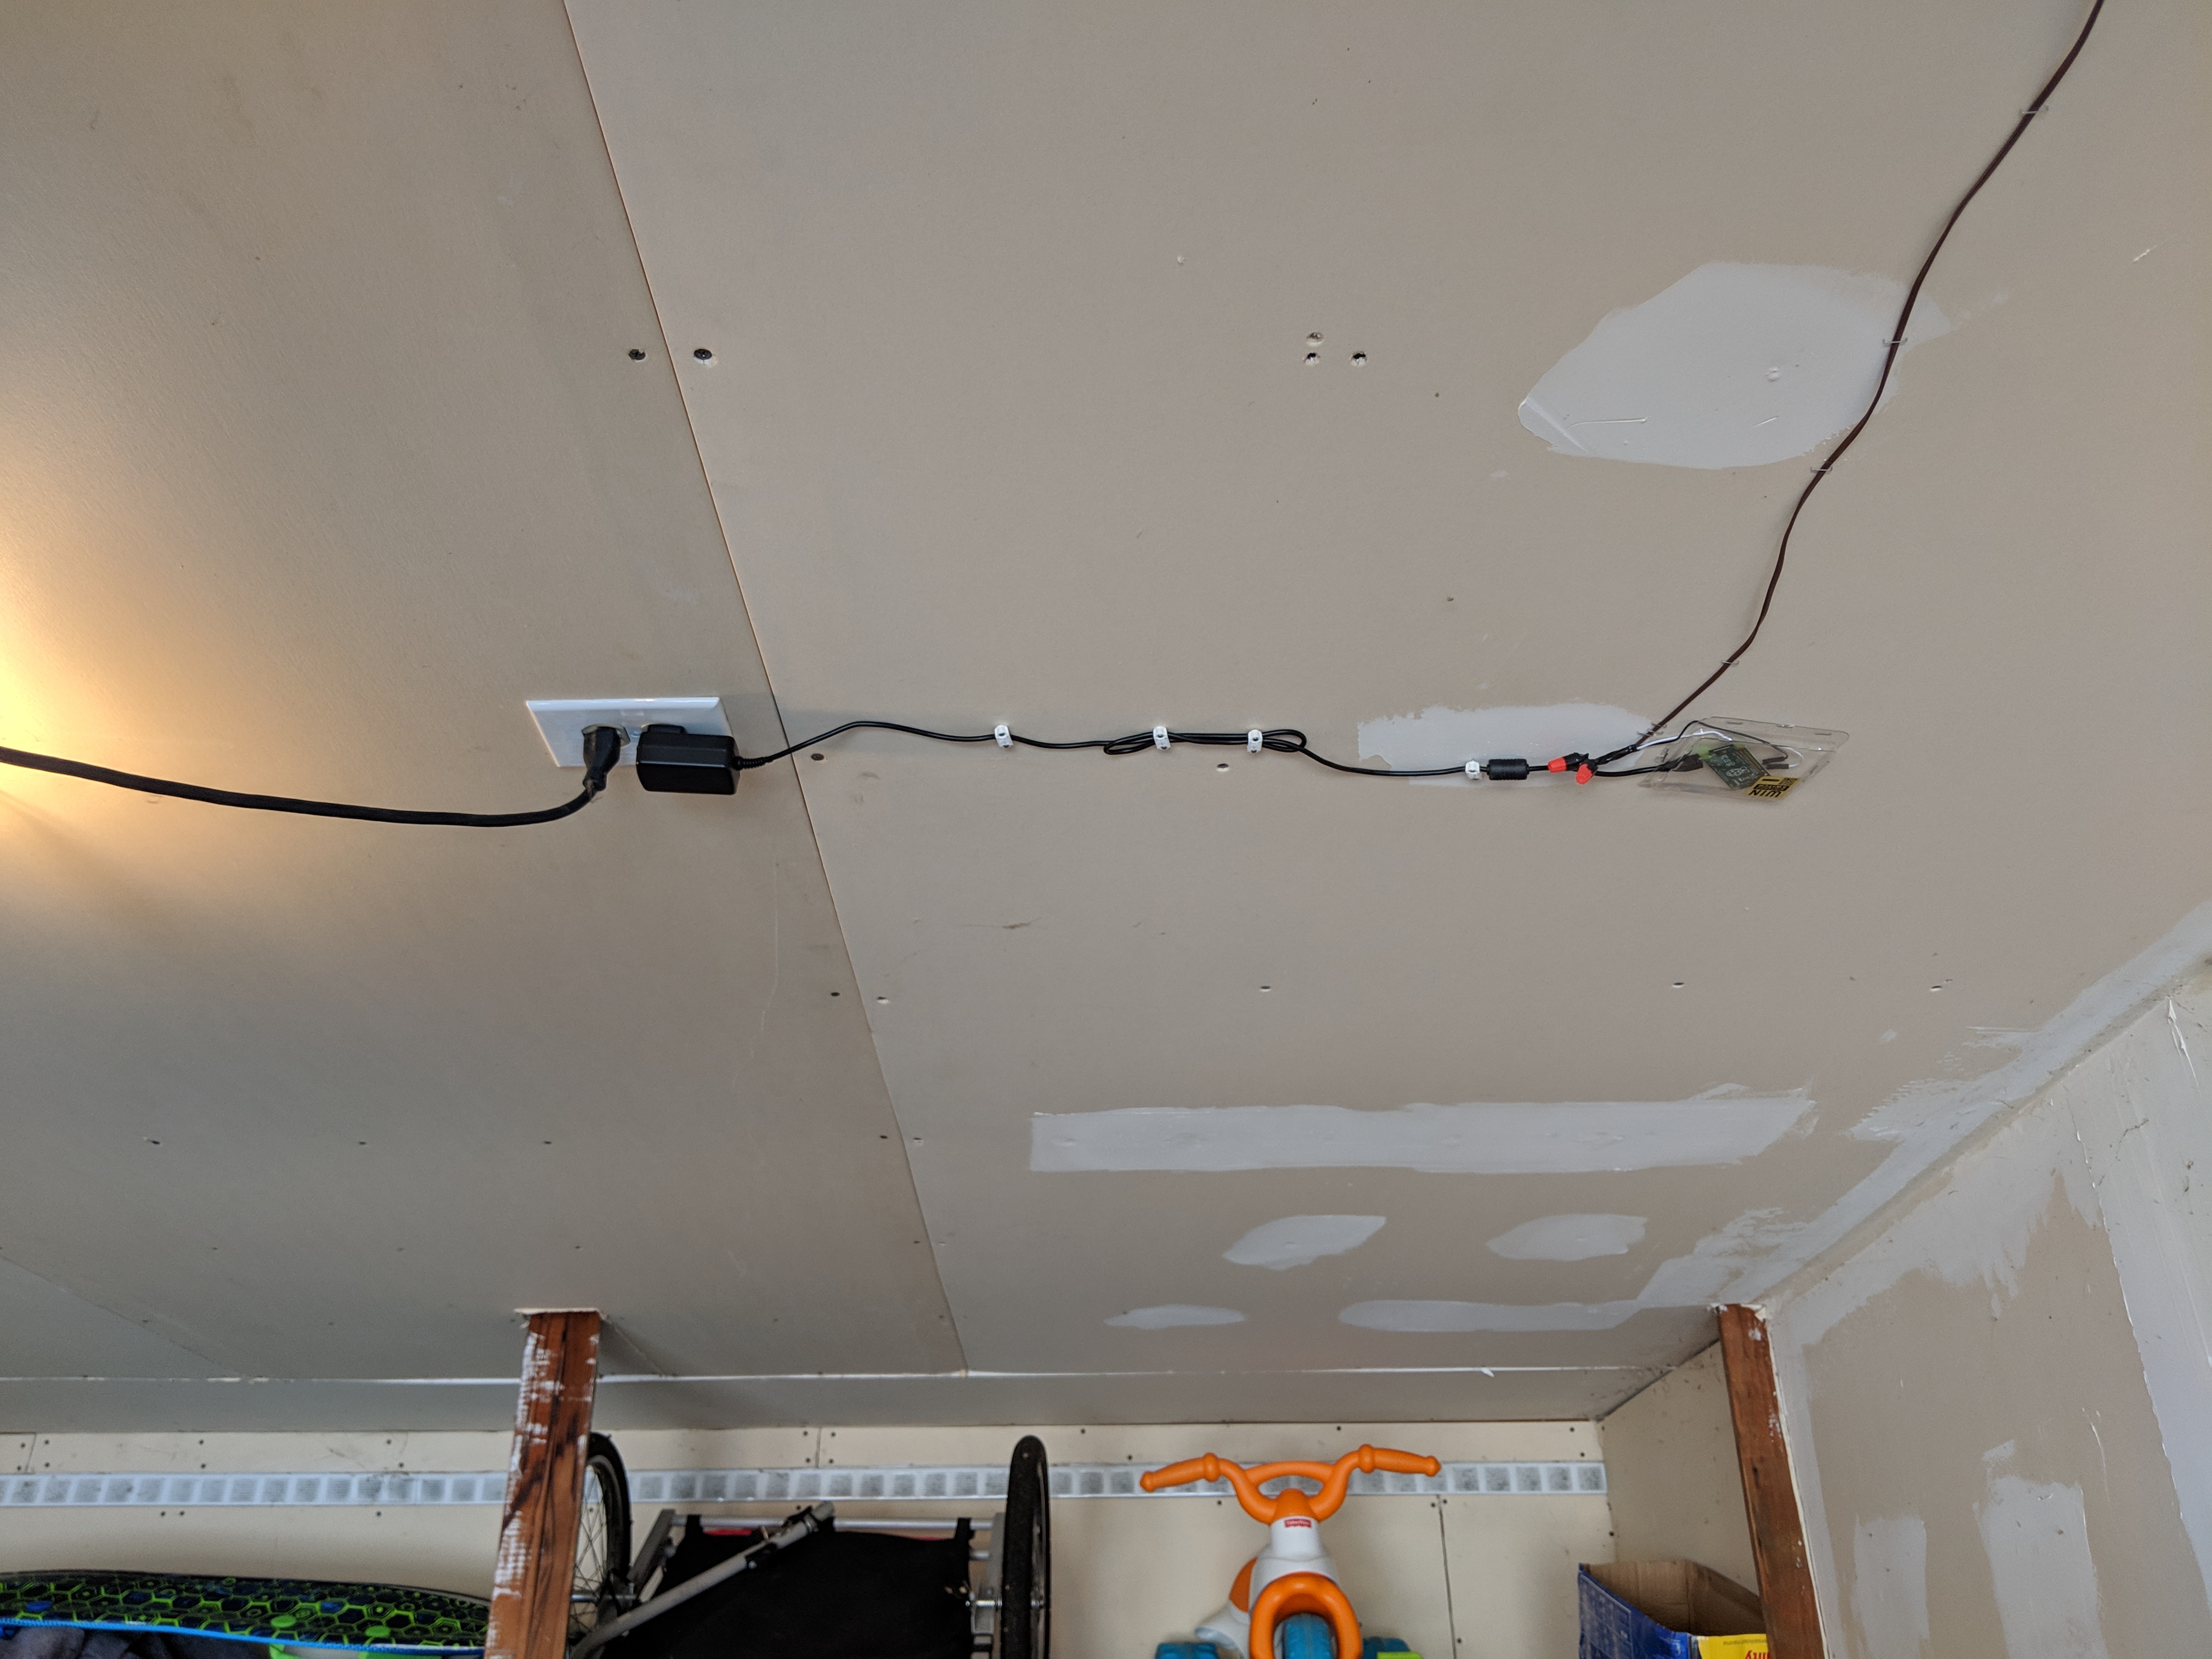
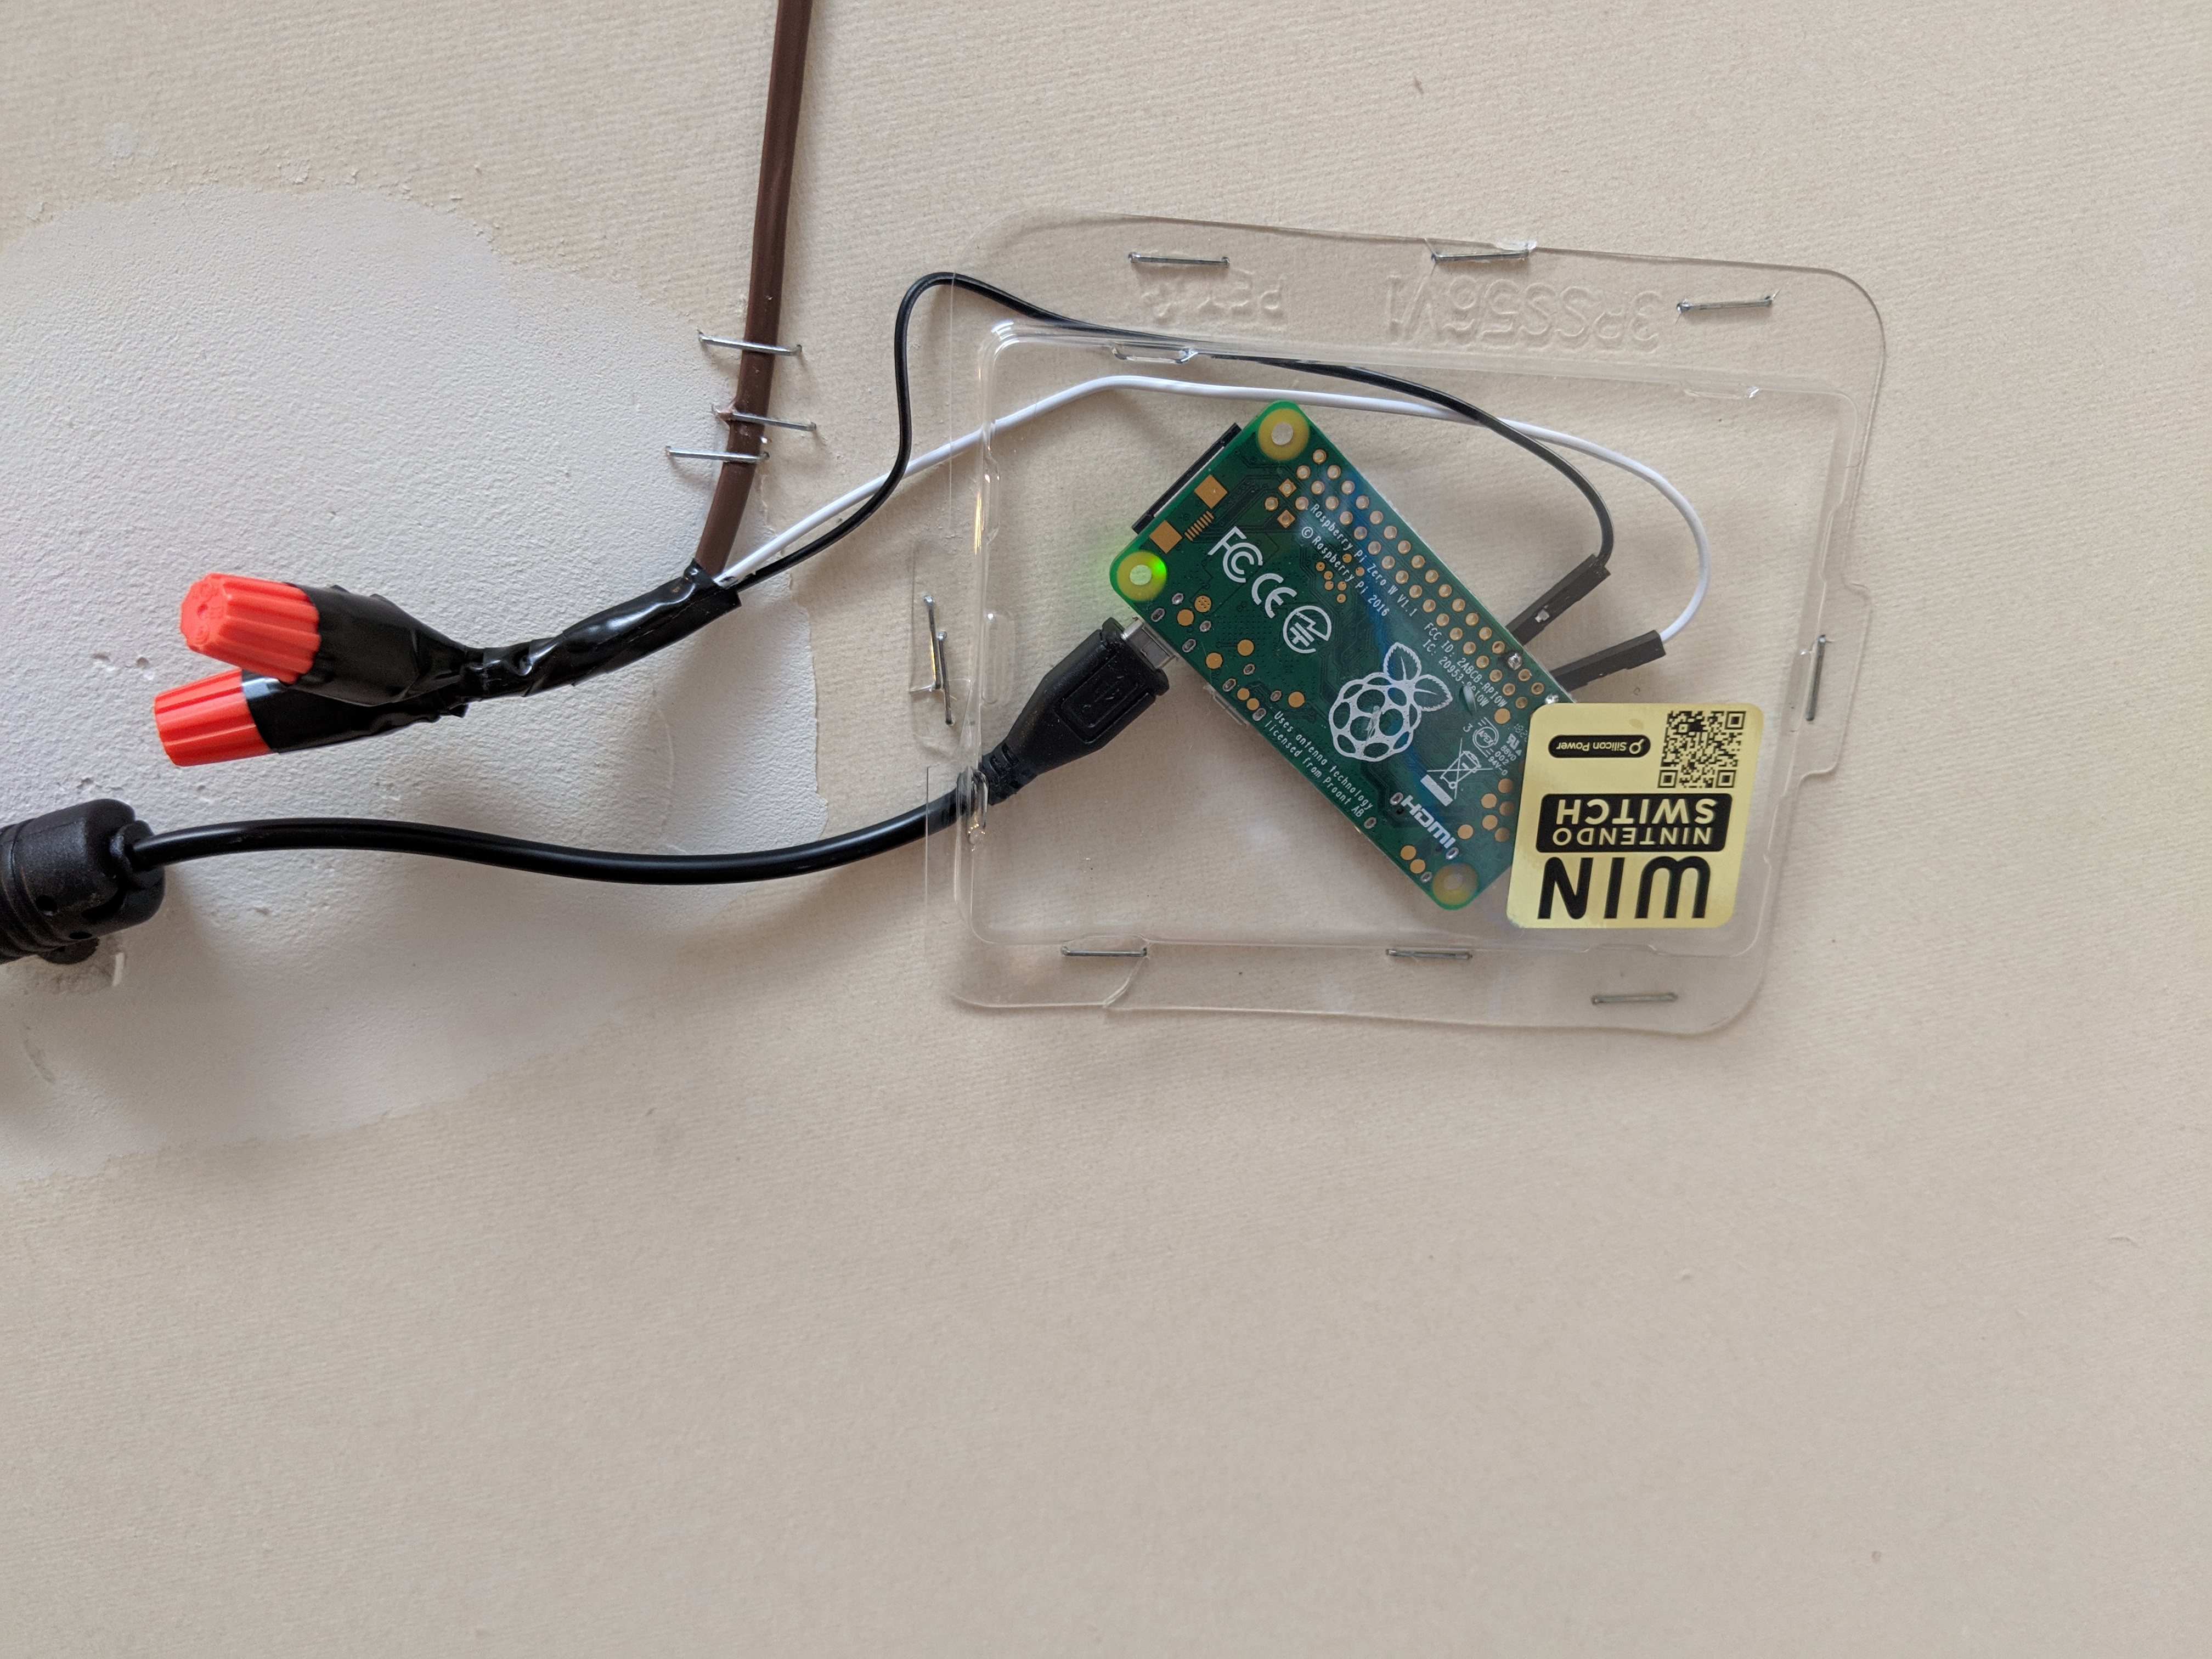
Here you can see the garagepy in a very fancy plastic cover I found and stapled to the ceiling. It doesn’t matter which wire is connected to which pin since the magnet is simply opening and closing a circuit.


