Often times you may find yourself in the need to get to sites that are unavailable for one reason or another. You can easily achieve this via the powerful SSH protocol’s ability to proxy your connections.
First thing you will need is a computer running an SSH server. Linux offers this very easily, but you need a computer running all the time. The easiest thing to do is to create a virtual computer using Digital Ocean, Amazon AWS or something similar. For this post, we will use Digital Ocean because it is cheap and super easy. Also, if you use the following code, I get a referral bonus and you get a free $5 credit to start.
https://www.digitalocean.com/?refcode=ceb684a67f12
Digital Ocean provides a $5/mo virtual machine which you can also do per hour for $0.007. If you use an example of how many hours you are at work approximately per month which is 20 workdays * 8 hours, that is only $1.12/mo. If you turn off the droplet every night when you go home. Maximum charge is $5/mo which is not that expensive either if you just want to leave it on all the time.
I’m not saying that you should use this at work to bypass any restrictions, but sometimes you may want something like this to secure your internet browsing while in a different country or similar.
Create the Virtual Machine(Digital Ocean calls these Droplets)
-
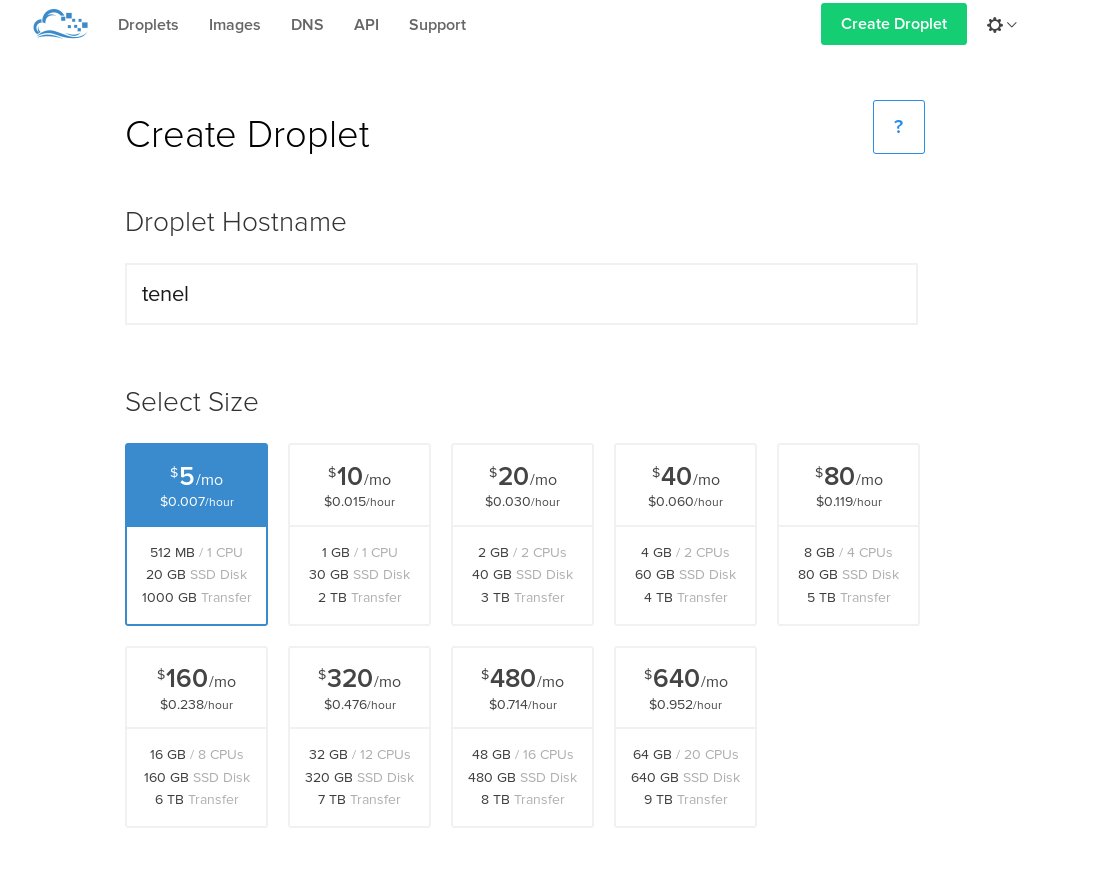
- Set name and select price
-
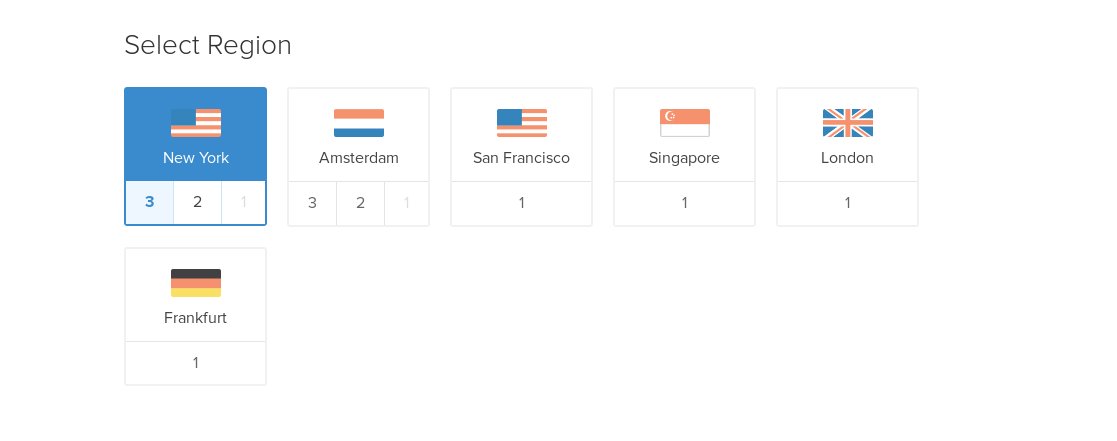
- select region to run in
-
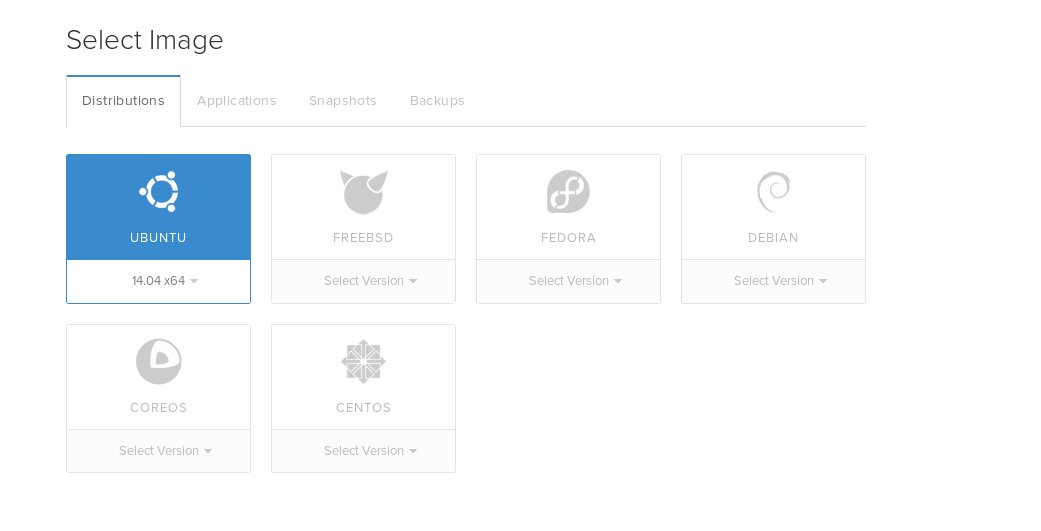
- Select operating system
-

- select networking options
-
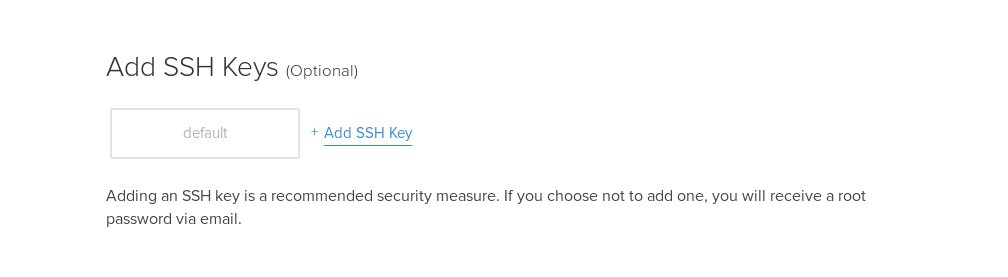
- use password auth and create
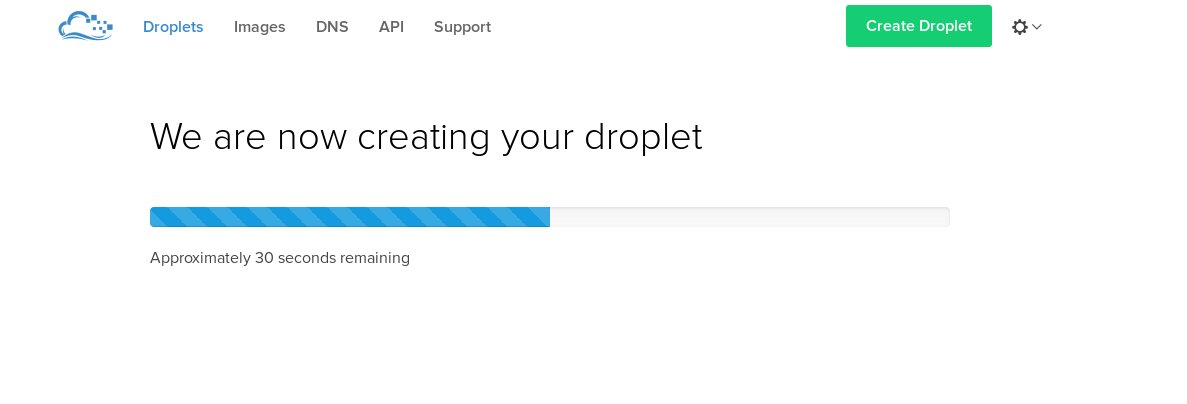
Once the droplet is completed you should receive an email with your droplet’s information that contains the username/password
Configure the VM
-
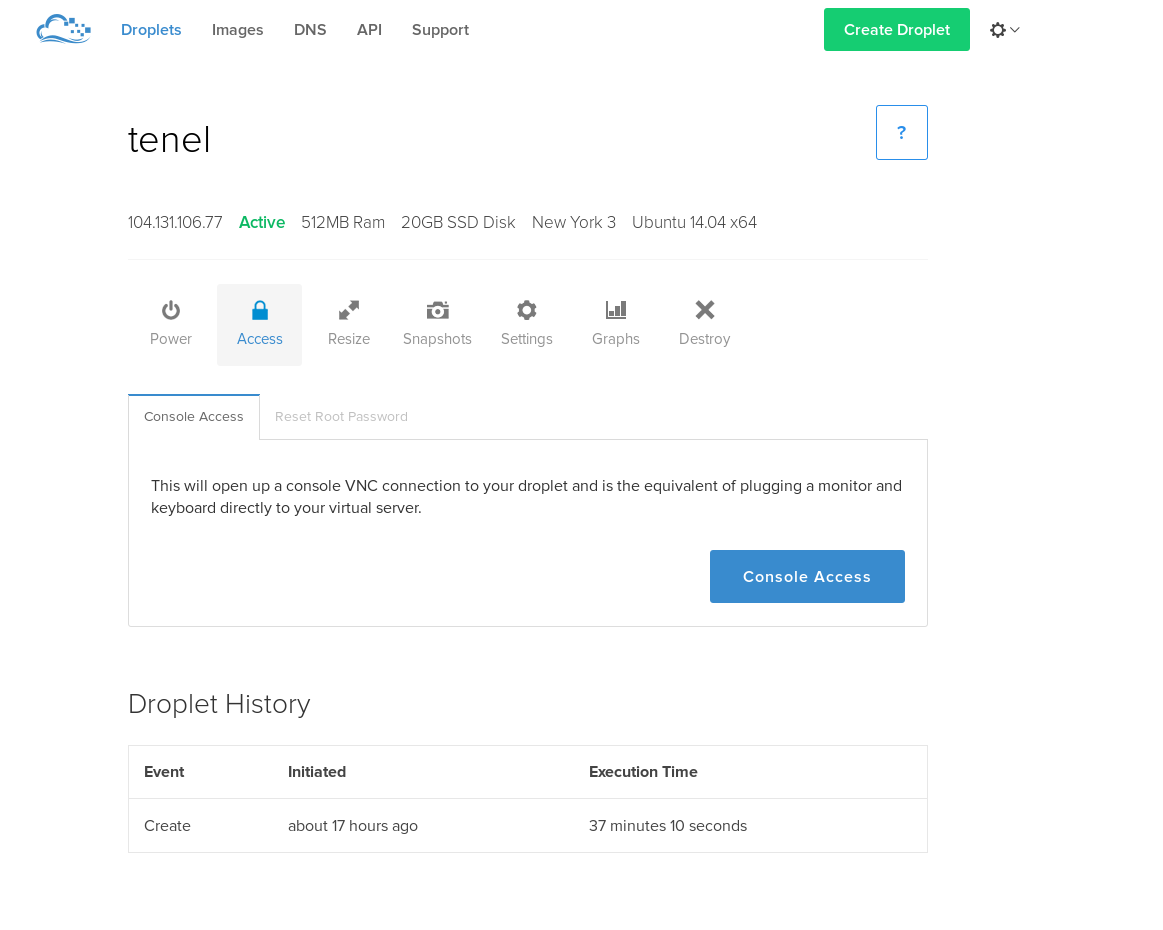
- Get access to console
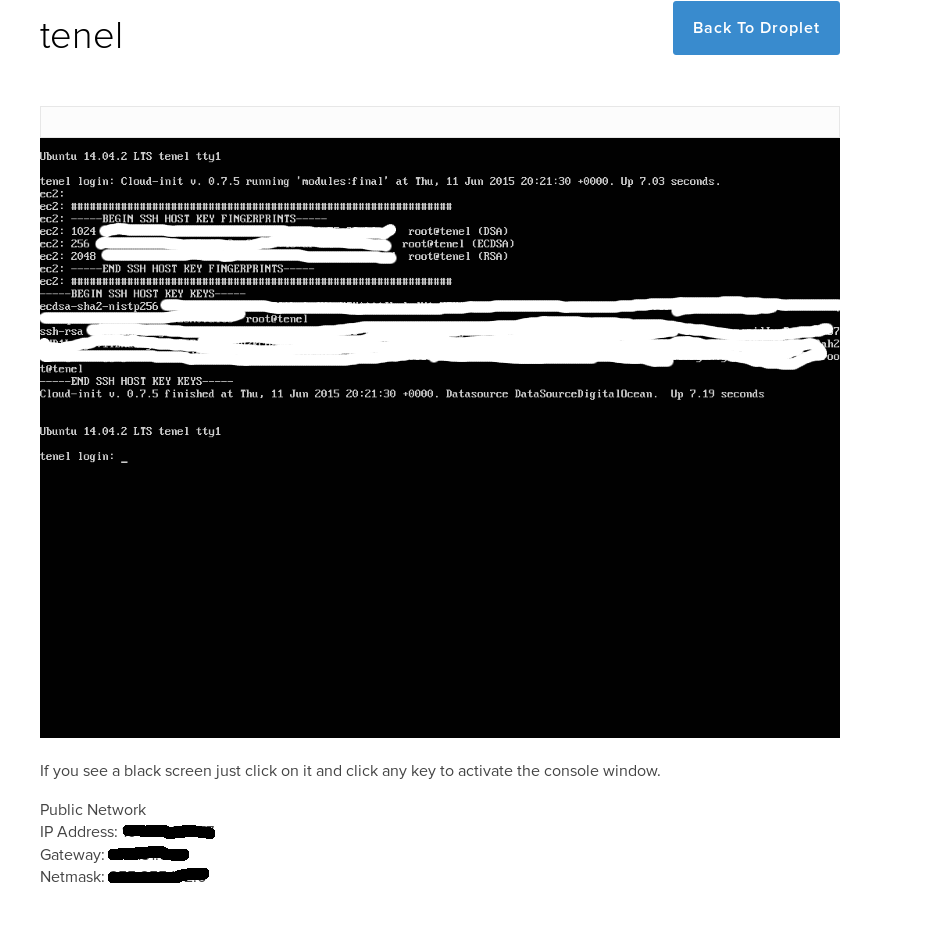
-
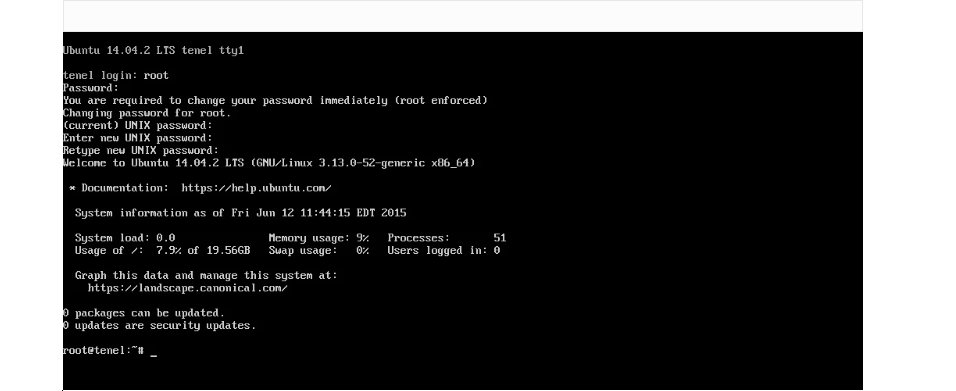
- first time login
Configure ssh server to accept connections on port 443
Allowing your droplet to accept ssh on 443 means that you can ssh to the ip of the droplet over the same port that standard HTTPS uses which is typically not blocked and firewalls will see encrypted traffic no different than they normally would.
Add Port 443 to /etc/ssh/sshd_config
$> echo "Port 443" >> /etc/ssh/sshd_config
Restart ssh service to apply change
$> service ssh restart
Create a different user than root to connect with
You should not use the root account(although nothing is preventing you from doing it). Use the ‘least privileged access’ model and make a new user that you will connect to your server with.
Create admin group so you can become admin if needed from your account with sudo
$> addgroup admin
Create your user account(replace my.username with whatever you want)
$> useradd -m my.username -s /bin/bash -G admin
Configure access to your droplet
Easiest way to handle connecting to your droplet is through an ssh key. This replaces the need for a password, but does require that you have this key anytime you want to connect.
$> mkdir -p /home/my.username/.ssh
$> ssh-keygen -f /home/my.username/.ssh/id_rsa
$> cp /home/my.username/.ssh/{id_rsa.pub,authorized_keys}
$> chown -R my.username:my.username /home/my.username/.ssh
$> chmod -R u=rwX,go-rwx /home/my.username/.ssh
This will prompt you for a passphrase for the key. Put in any password you want to use(you will use this later to connect so don’t forget it). Yes you can be naughty and not put a password too and have a passwordless key…not very secure, but it works for the lazy folk that don’t want to learn ssh-agent.
ssh-keygen will generate 2 files under /home/my.username/.ssh
id_rsa and id_rsa.pub
id_rsa is your private key, aka, what you need on your local workstation to connect to you droplet
Configure your local client to connect using your key
The way you configure your ssh client on your local workstation really depends on your operating system. On Mac and Linux it is the same. On windows, you have to do it differently based on if you use putty or some other software. I will show you how to configure using Mac/Linux now.
Copy the contents of /home/my.username/.ssh/id_rsa on your droplet into a file on your local workstation called ~/.ssh/digital_ocean. ~/ points to your home directory which will be something like /home/username or /Users/username.
You can get the contents of a file using the cat command on your droplet like so
$> cat /home/my.username/.ssh/id_rsa
The next steps are all on your local workstation
Once you have created the ~/.ssh/digital_ocean you must ensure it has only read permissions and only for you
$> chmod 600 ~/.ssh/digital_ocean
Then edit your ssh client config(~/.ssh/config) to add an entry for this host. You will simply add the following to the file replacing your droplet’s information in the following block
Host digitalocean
    HostName XXX.XXX.XXX.XXX
    Port 443
    User my.username
    IdentityFile  ~/.ssh/digital_ocean
Now you are configured and ready to ssh
$> ssh digitalocean
Now you just need to setup your local workstation to have firefox tunnel over your ssh connection
$> mkdir -p ~/bin
$> cd ~/
$> wget https://github.com/necrolyte2/sshtunnel/archive/v1.0.zip
$> unzip v1.0.zip
$> cd sshtunnel-1.0
Edit tunnel.sh and change my.username and myhostname to reflect what you put in ~/.ssh/config
user needs to be the same as the username you created on your droplet
host needs to be digitalocean
Then follow the instructions in tunnel.sh at the top under Browser Setup
Once completed, you can simply execute the following from your terminal
$> sh ~/sshtunnel-1.0/tunnel.sh
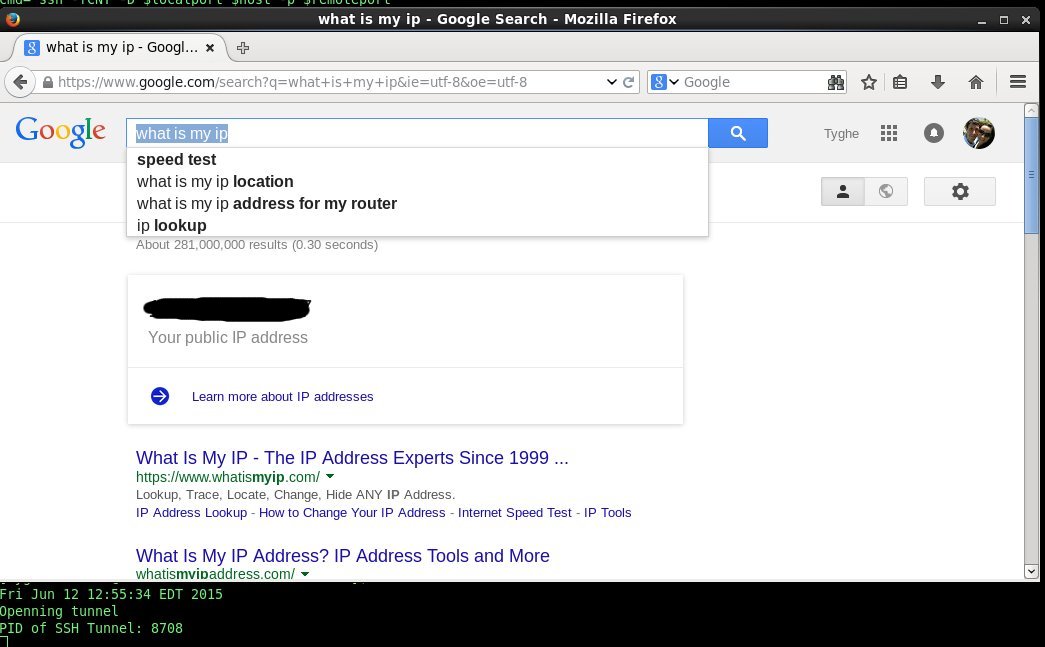
This will ssh to your droplet and open firefox with the tunnel profile you created. I then usually go to google and type in what is my ip to verify that what it returns is the same as the ip of my droplet